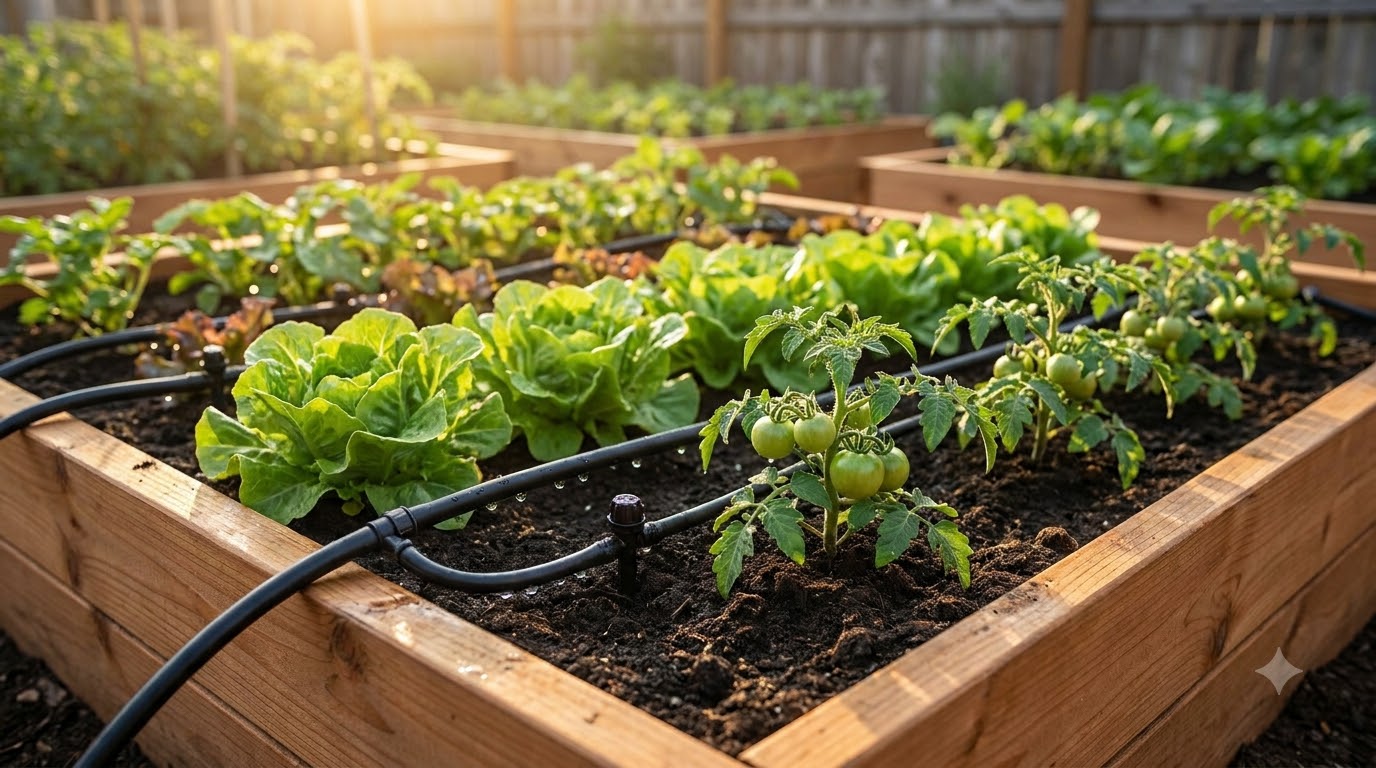
The best way to irrigate raised garden beds is a drip line on a battery timer — a basic kit covers a standard bed, installs in a weekend, and turns daily watering into a chore that does itself. Until you get there, the rule that matters most costs nothing: water deeply and less often, at the soil, in the morning. Raised beds dry out faster than any in-ground garden, so the watering plan deserves as much thought as the soil.
Key takeaways
- Raised beds dry fast by design — the same drainage you built them for works against you in July.
- Deep and less often beats daily sprinkles. Shallow watering grows shallow roots that need more rescue, not less.
- Drip on a timer is the endgame: known amounts, exactly at the roots, zero daily effort, easy to expand bed by bed.
- Soaker hose is the budget middle step — fine for one bed, uneven across several.
- Mulch is half the battle: a straw or chip layer roughly halves evaporation before a drop of extra water is spent.
Why raised beds need their own watering plan
Three things make a raised bed thirstier than the ground next to it. The loose, compost-rich mix drains freely — which is the point, but free-draining runs both ways. The walls are exposed on four sides, so summer air and sun pull moisture out laterally, not just from the surface. And beds on pavement run hotter still, with the slab radiating heat into the root zone from below — the same reason hard-surface beds need extra depth. A well-blended topsoil-compost fill buffers a lot; the watering system covers the rest.
Five ways to irrigate raised garden beds, compared
| Method | Cost | Effort per session | Water efficiency | Best for |
|---|---|---|---|---|
| Watering can / hose by hand | Free | High, daily in summer | Good (if aimed at soil) | One small bed; seedlings |
| Sprinkler | $ | Low | Poor — paths and foliage drink first | Emergency coverage only |
| Soaker hose | $ | Low | Decent; uneven over distance | A single bed on a budget |
| Drip kit, manual valve | $$ | Low | Excellent | Several beds, hands-on gardener |
| Drip kit + battery timer | $$ | None | Excellent | Everyone else — the endgame |
Hand-watering: fine, until it isn’t
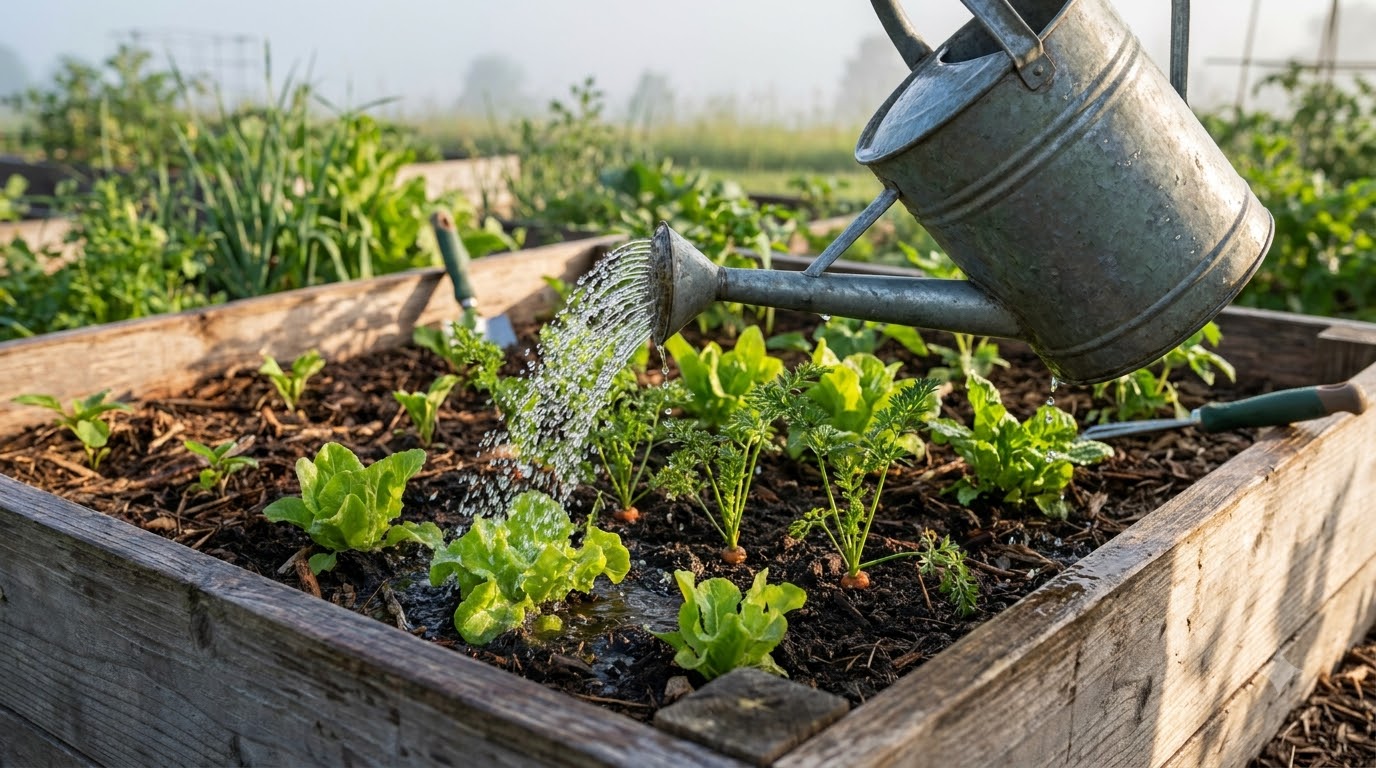
A watering can aimed at the soil line is genuinely good irrigation — slow, targeted, and it forces you to look at your plants. Its weakness is arithmetic: in peak summer a full-size bed can want water daily, and vacation weeks don’t negotiate. Keep the can for seedlings and spot duty.
Sprinklers: the weakest link
Overhead spray waters the path, the bed walls, and the foliage before it waters roots — and leaves wet overnight are the classic invitation to fungal disease. If a sprinkler is what you have today, run it early morning and plan the upgrade.
Soaker hose: the budget middle step
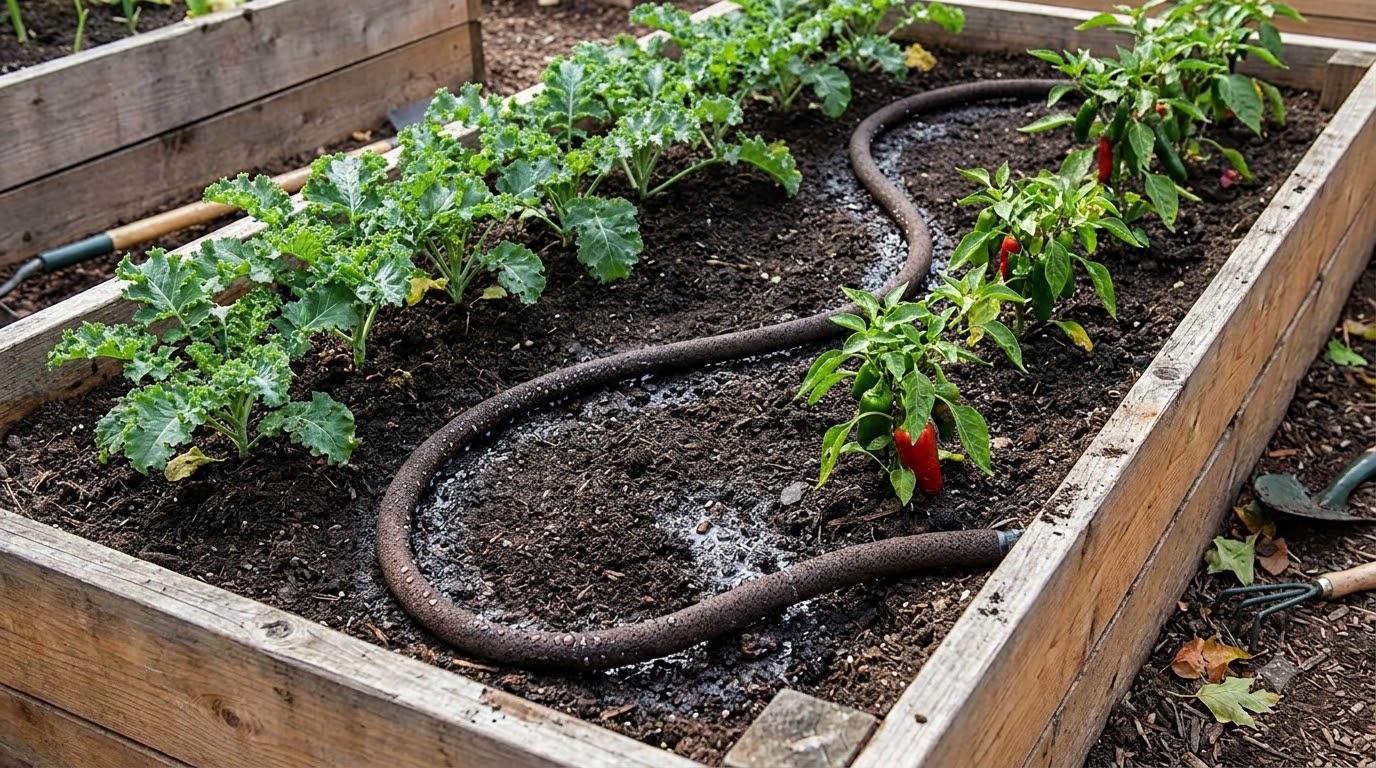
A porous hose that weeps along its whole length, snaked between plants and buried under mulch. Cheap and simple — but delivery is uneven (more water near the spigot end), pressure limits how far one run stays useful, and the pores clog over seasons. One bed: fine. A row of beds: you’ve outgrown it.
Drip irrigation: precise, expandable, boring in the best way
Half-inch supply tubing runs to the bed, quarter-inch emitter lines or drip tape run across it, and each emitter meters out a known trickle right at the root zone. Nothing lands on leaves, nothing waters the path, and adding another bed is a tee fitting away.
Add the timer and stop thinking about it
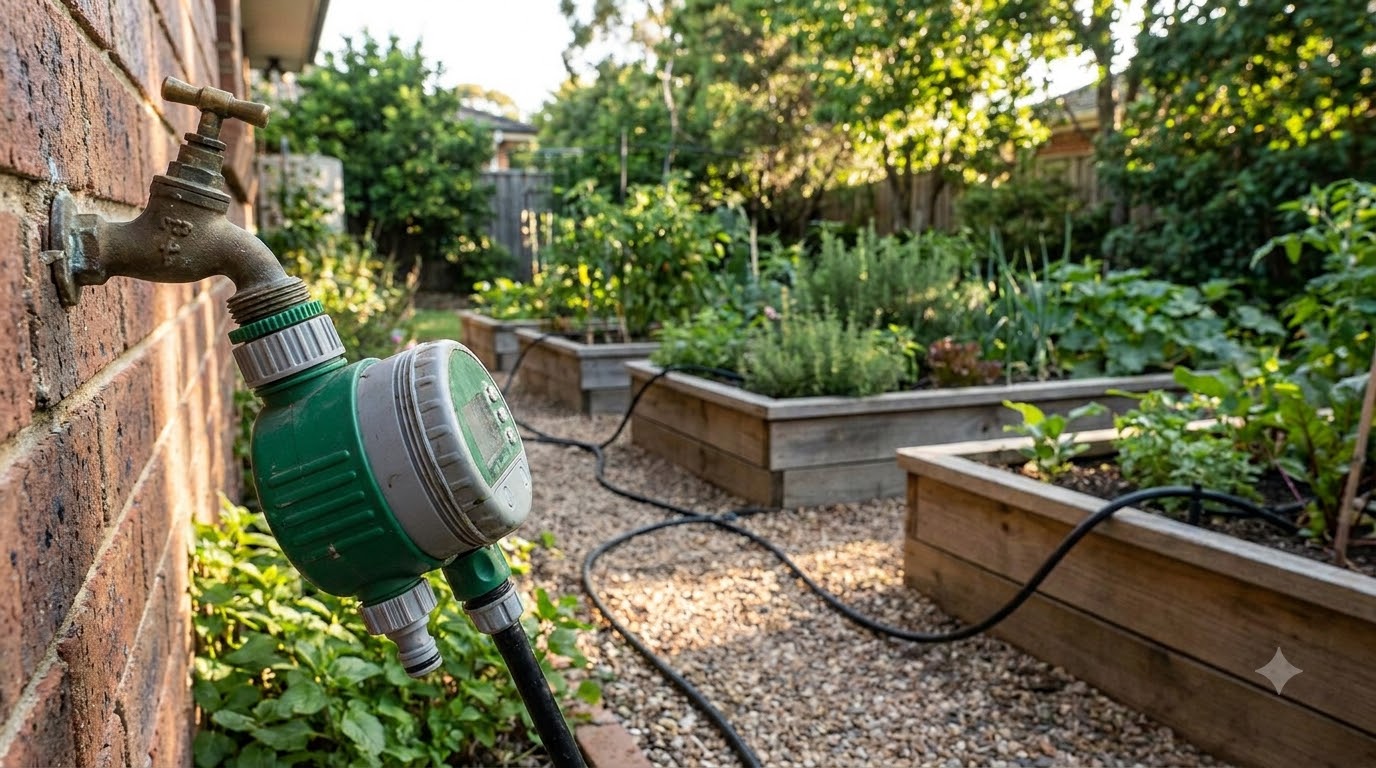
A battery timer on the spigot turns the drip system autonomous: same time every morning, rain-delay button for wet weeks, and your beds no longer care whether you’re home. This is the setup that makes a raised bed garden feel effortless in August instead of needy.
The weekend drip install, step by step
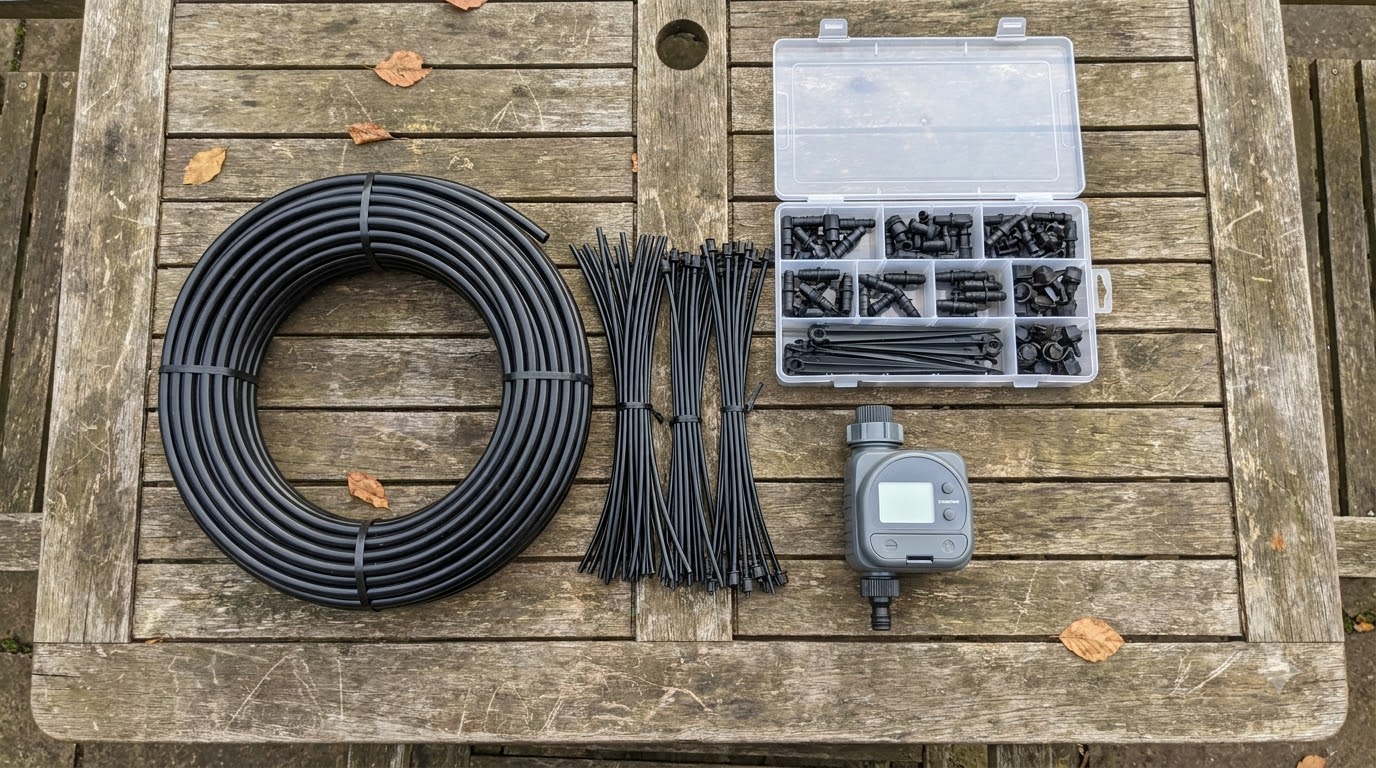
Shopping list: a basic drip kit sized for your beds (tubing, emitter line, fittings, stakes, end caps), a battery hose timer, and a backflow preventer if your kit doesn’t include one.
- Map the run. Spigot → timer → half-inch tubing to the first bed, then bed to bed. Keep runs short and direct.
- Lay the supply line along the bed edges, cutting and joining with tee and elbow fittings.
- Run emitter lines across the bed about every 12 inches so the wetted zones overlap into full coverage.
- Stake, cap, flush. Pin lines to the soil, cap the ends, then open the valve once with caps off to flush debris.
- Calibrate once: run 20–30 minutes, wait an hour, dig a finger in. Adjust run time until moisture reaches 6–8 inches down.
- Set the timer for early morning, then bury the emitter lines under mulch and forget the whole thing exists.
Match the layout to what you grow
A drip grid is not one-size-fits-all — the plants tell you where the water goes:
- Thirsty heavyweights (tomatoes, squash, cucumbers): two emitters per plant, or a loop of emitter line around each root zone. These are the plants that punish a stingy grid first.
- Dense greens beds (lettuce, spinach, carrots): straight lines a foot apart across the whole bed — the overlap waters the block evenly, which suits crops planted in blocks.
- Mediterranean herbs (rosemary, thyme, oregano): the dry corner. Give them the end of the run with the fewest emitters — they flavor better slightly stressed than pampered.
- Perennials in the mix (strawberries, asparagus): their own line with a shutoff valve, so replanting the annual half of the bed never means redesigning theirs.
The low-tech cousins: ollas and wicking
Two irrigation traditions predate tubing and both suit raised beds. An olla — an unglazed clay pot buried to its neck and kept filled — weeps water directly into the root zone for days at a stretch; two ollas handle a 4×4 area and love vacation weeks. Wicking beds build a water reservoir under the soil that moves moisture upward on demand — brilliant in hot climates, but it is a build-it-from-the-start design, not a retrofit. Both trade precision for serenity; neither scales as cleanly as a drip line with a tee fitting.
Dialing in how much and when
- Check the soil, not the calendar: water when the top two inches are dry. Summer might mean daily for shallow beds, every 2–3 days for deep mulched ones.
- Morning, always. Water soaks in before the heat and foliage dries fast.
- Mulch before you upgrade anything else — straw or chips over the drip lines roughly halves evaporation, and it’s the cheapest “irrigation equipment” you can buy.
- Shade the bed during heat waves — a 30–50% cloth takes the demand spike off entirely; the cover guide shows the setup.
- Skip the schedule after real rain. That’s what the timer’s rain-delay button is for.
Winterizing and upkeep
Anywhere that freezes: shut the supply, pull the end caps so lines drain, and bring the timer inside (trapped water cracks timers and fittings, not usually the tubing). Each spring, flush the lines once with caps off and eyeball every emitter during the first run — a clogged emitter announces itself as one sad plant in an otherwise happy bed.
Mistakes that keep beds thirsty
- Daily sprinkles. Wet surface, dry root zone, shallow roots that panic on the first hot day. Deep and less often.
- Watering leaves in the evening — the fungal-disease starter pack.
- One watering plan for every bed. A shallow bed on concrete and a deep bed on soil live in different climates — zone them separately or calibrate separately.
- Bare soil all summer. Skipping mulch doubles the work of every option on this page.
- Set-and-forget through a rainy week. Automated isn’t the same as unattended — glance at the forecast.
Frequently asked questions
How often should I water a raised garden bed?
When the top two inches of soil are dry — check with a finger, not a calendar. In high summer that is often daily for shallow beds and every two to three days for deeper, mulched beds. Water deeply each time rather than sprinkling daily.
Is drip irrigation better than a soaker hose for raised beds?
Usually. Drip emitters deliver a known amount of water exactly where you place them and hold pressure evenly across multiple beds. Soaker hoses are cheaper and fine for a single bed, but they weep unevenly and clog with age.
Can I just use a sprinkler on raised beds?
It works, but it is the weakest option: much of the spray lands on paths and foliage instead of soil, and wet leaves overnight invite fungal disease. If a sprinkler is what you have, run it in the morning so foliage dries fast.
How long should I run drip irrigation in a raised bed?
Until the root zone is moist six to eight inches down — start with 20 to 30 minutes, then dig a finger in an hour later and adjust. Every kit and soil mix delivers differently, so calibrate once instead of guessing forever.
Should I water raised beds in the morning or evening?
Morning. The water soaks in before midday heat steals it, and any splashed foliage dries quickly. Evening watering leaves the leaves wet all night, which is the classic setup for fungal problems.
Do I need to winterize drip irrigation on raised beds?
In any climate that freezes, yes: shut off the supply, open the end caps and let lines drain, and bring the battery timer indoors. Water trapped in fittings and timers is what cracks them.
Sources
- University of Minnesota Extension — Raised bed gardens (raised-bed watering characteristics)