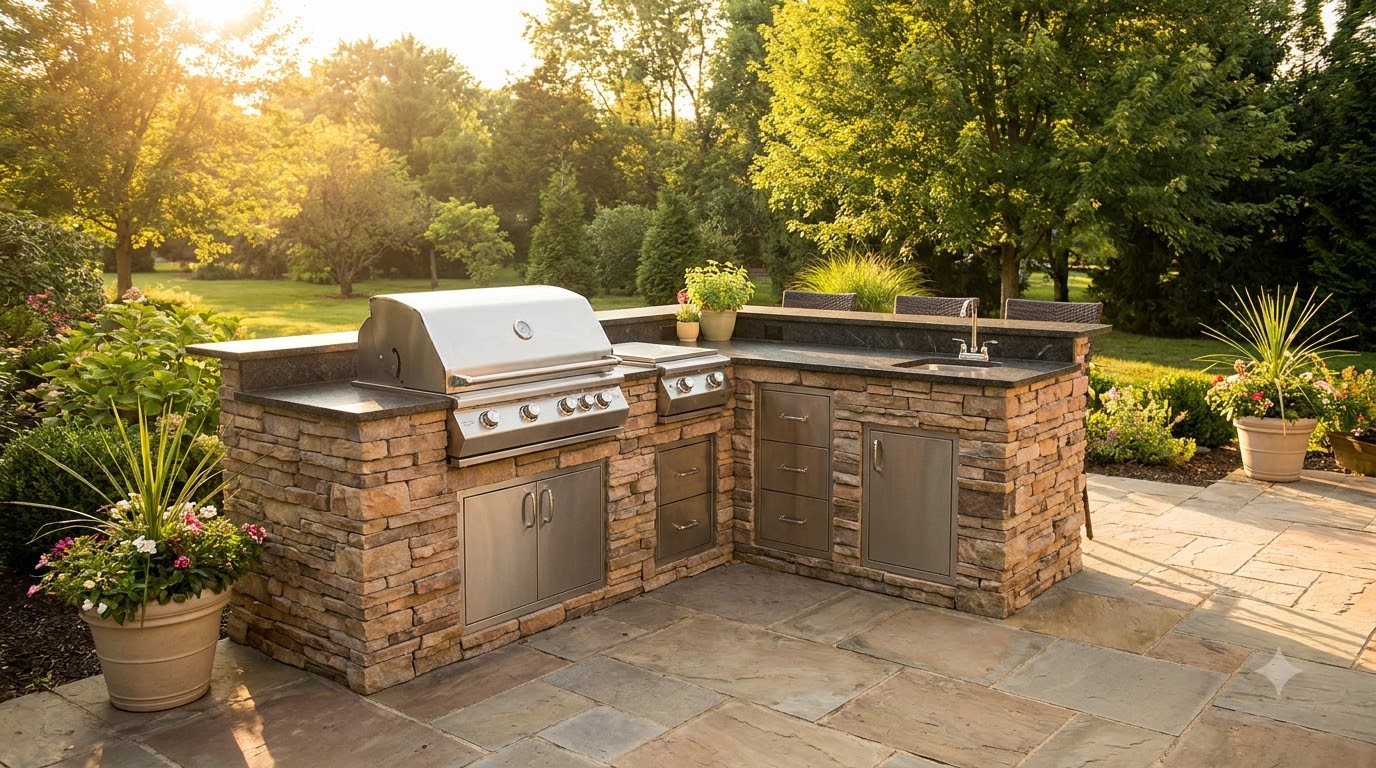
A cinder block outdoor kitchen is the cheapest way to get a real masonry cooking station. Concrete block is non-combustible, strong enough to carry a stone countertop and a drop-in grill, and costs a fraction of modular units — and once it is clad in stone veneer or tile, nobody can tell it started as grey blocks. Below: the full build, from slab check to cladding, with the clearances and load details that separate a kitchen that lasts from one that cracks.
Key takeaways
- You need a solid, level slab underneath — masonry on soil or pavers cracks as the ground moves.
- Mortared courses with rebar and filled cores where needed; dry-stack only with surface bonding cement.
- Size the grill cutout from the manual, and follow its clearance and ventilation specs exactly.
- Concrete counters are the natural partner; granite is the upgrade.
- Cladding is where the build stops looking like blocks — budget for it from the start.
Cinder block outdoor kitchen: materials and tools
| Item | What to get | Notes |
|---|---|---|
| Blocks | Standard concrete masonry units | Count courses to counter height; add half-blocks for ends |
| Mortar | Type S masonry mortar | Mix in small batches; it goes off fast in heat |
| Rebar | Vertical bars in cores at corners and openings | Grout the cores containing rebar |
| Lintel | Angle iron or a bond-beam block | Spans the grill opening — not optional |
| Countertop | Concrete, granite or porcelain on backer board | Support any overhang; spread the load |
| Cladding | Stone veneer, tile, brick slips or stucco | Where the finished look comes from |
| Tools | Level, trowel, mixing tub, string line, angle grinder | Plus a helper — blocks are heavy |
Step 1: check the base
Everything rests on this. A sound, level concrete slab of adequate thickness is ideal, and an existing patio slab often qualifies if it is not cracked or heaving. If there is no slab, pour a footing or pad first — block laid on pavers, gravel or bare soil moves, and moving masonry cracks at the joints and takes the countertop with it.
Step 2: lay out the footprint dry
Chalk the outline on the slab and dry-lay the first course with no mortar, including the grill opening. This is the cheapest hour of the build: check that the layout matches the appliance dimensions, that doors and drawers have room to open, that there is prep counter beside the grill (the most commonly skimped zone), and that people can walk past behind the cook. Adjust now, not after mortar.
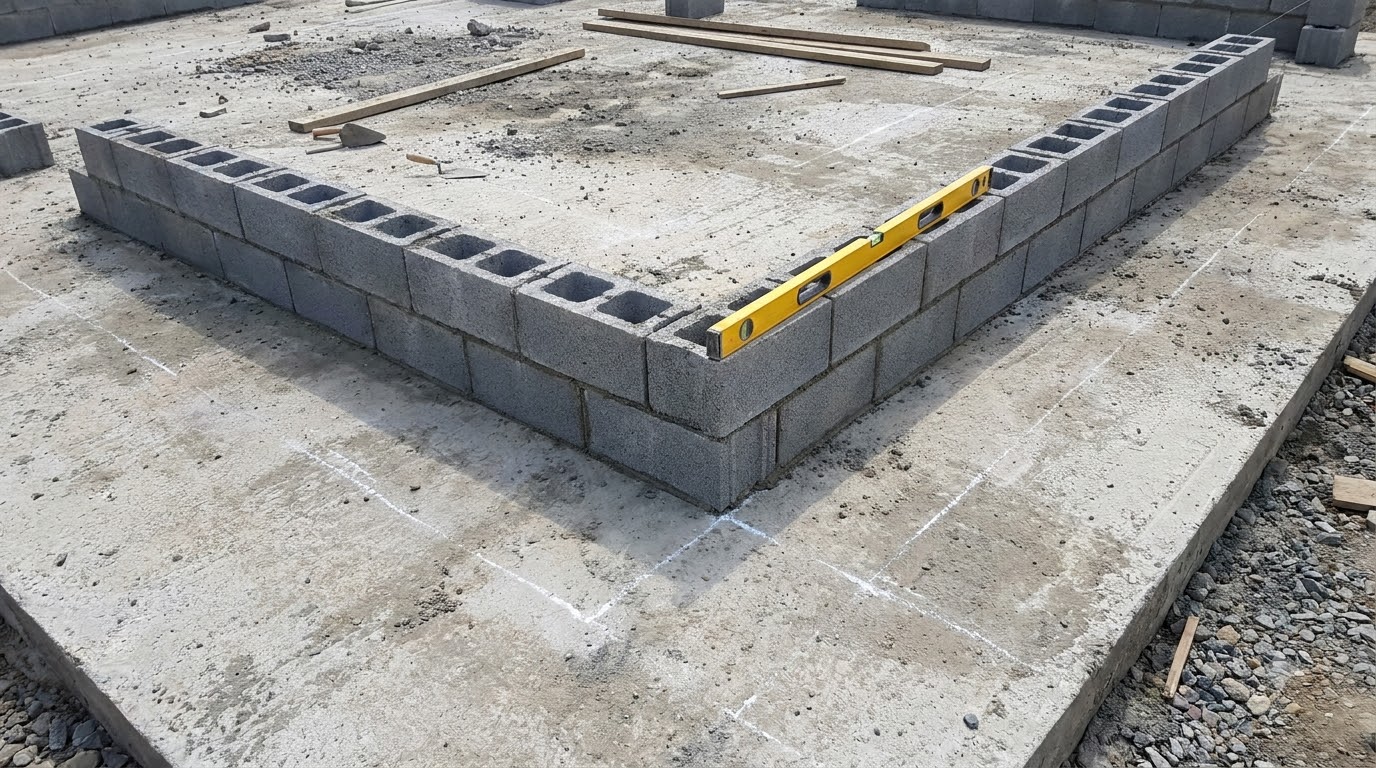
Layout follows the same logic as any kitchen — hot zone, prep zone, serving — laid out in covered outdoor kitchen layouts. An L-shape suits most yards; a straight run suits a wall.
Step 3: build the courses
- Mortar the first course onto the slab, checking level constantly — every error here multiplies upward.
- Run a string line for each course and keep joints consistent.
- Stagger the joints between courses for strength; use half-blocks at the ends.
- Set rebar vertically in cores at corners and either side of openings, and grout those cores.
- Check plumb on every course. Blocks are unforgiving of a lean that starts small.
- Leave openings for the grill, doors, drawers and any vent openings the appliance manual requires.
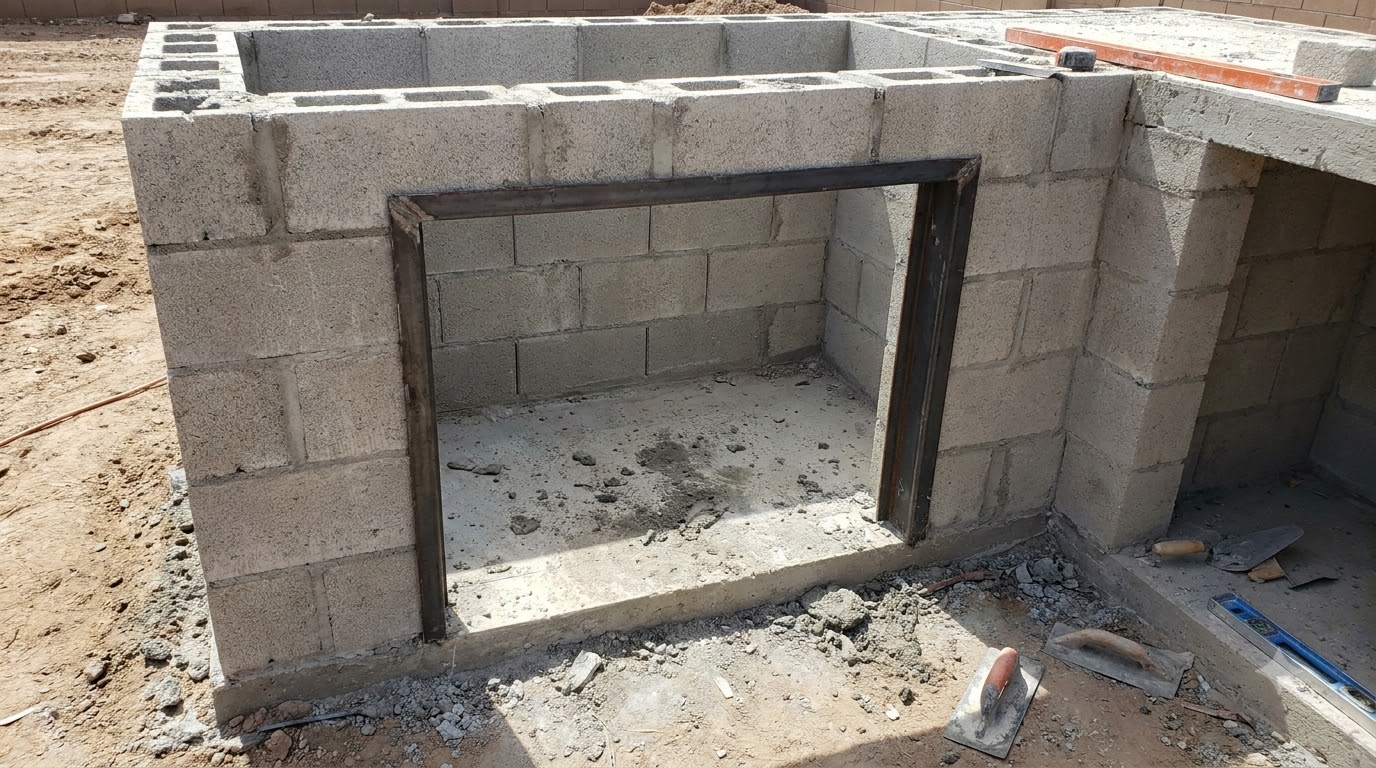
Step 4: the grill cutout
Take the dimensions from the grill manual, not the showroom — drop-in units specify an exact cutout plus clearances to combustibles and often required ventilation openings in the enclosure. Span the top of the opening with an angle-iron lintel or a bond-beam block so the courses above are carried properly.
Two safety points worth repeating: concrete block is non-combustible, which is why it suits a grill surround — but the cladding, countertop and anything stored inside still need to respect clearances. And if a propane bottle lives in the base, the enclosure must be vented exactly as the manufacturer specifies. General grilling clearances and habits are covered by the NFPA grilling safety guidance.
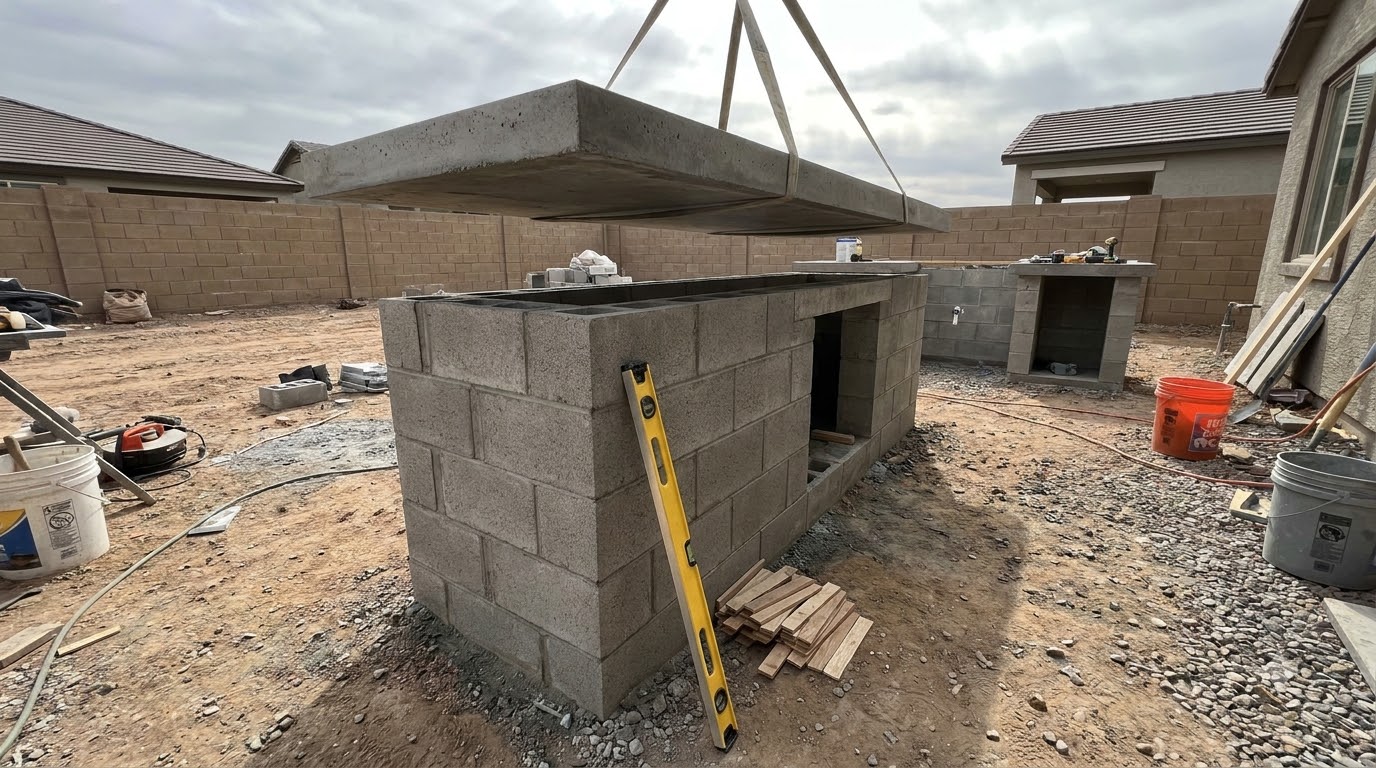
Step 5: countertop
- Poured concrete in place — cheapest, seamless, and heavy; form it on top of the blocks with rebar in the slab.
- Precast concrete slabs — cast on the ground, cured, then set. Easier to finish nicely, harder to lift.
- Granite — the durable upgrade; have it templated after the blockwork is finished, not before.
- Porcelain or tile on cement backer board — the budget-friendly compromise; use outdoor-rated tile and grout.
- Support the overhang for any bar seating — brackets or a corbel course, not the cantilever alone.
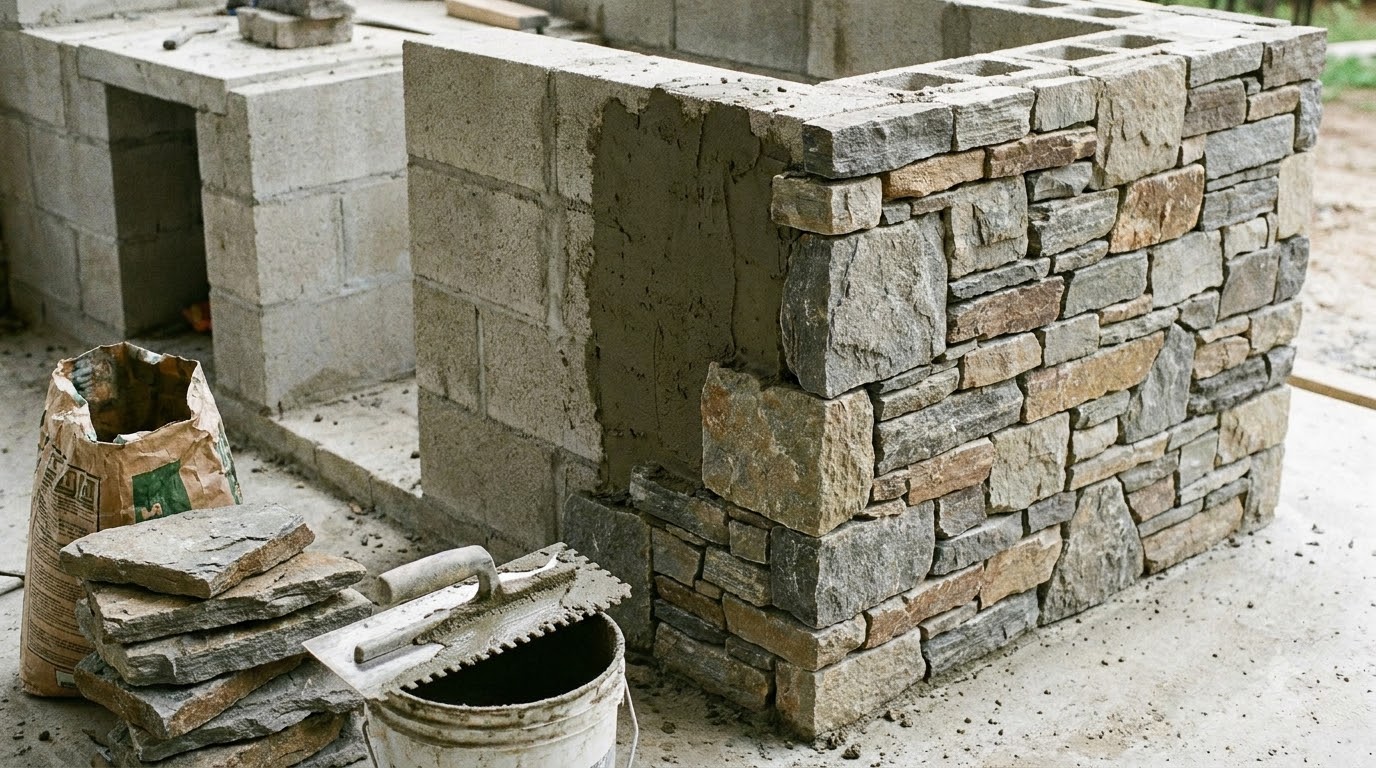
Step 6: cladding, the step that changes everything
This is where a block box becomes a kitchen:
- Stone veneer — the most popular finish; thin natural or manufactured stone over a scratch coat.
- Porcelain or ceramic tile — crisp and modern, easy to clean; outdoor-rated only.
- Brick slips — warm and traditional, and a good match for brick houses.
- Stucco render — cheapest by far, and genuinely good in a Mediterranean or southwestern setting.
- Leave the block exposed and paint it — honest, industrial, and free. Use a masonry paint rated for exterior use.
Common mistakes
- Building on an inadequate base. The failure mode is cracks at the joints and a ruined countertop.
- Guessing the grill cutout. Measure from the manual; drop-in units are unforgiving.
- No lintel over the opening. The courses above need support, and mortar alone is not it.
- Skipping the prep counter. Grill plus 12 inches of counter is not a kitchen — it is a grill with a shelf.
- Enclosing a propane bottle without specified venting. Follow the manual exactly.
- Forgetting services. Run conduit or sleeves through the blockwork now if power or gas may come later — the cost of retrofitting is the reason to plan ahead.
Frequently asked questions
Can you build an outdoor kitchen from cinder blocks?
Yes — concrete block is one of the most common bases for a DIY outdoor kitchen. It is non-combustible, strong enough to carry a stone countertop and a built-in grill, and cheap per unit. Most builds clad the block afterward with stone veneer, tile or stucco.
Do cinder blocks need to be mortared for an outdoor kitchen?
For a permanent build, yes — mortared courses with rebar and filled cores give the base its strength. Dry-stacking with surface bonding cement is a common shortcut, but a mortared base is what you want under a heavy stone countertop.
What foundation does a block outdoor kitchen need?
A solid, level concrete slab or footing that will not settle — an existing patio slab is often adequate if it is sound and thick enough. Building masonry on pavers or bare soil invites cracking as the ground moves.
What countertop works on a cinder block kitchen?
Poured or precast concrete is the natural partner and the cheapest; granite is the durable upgrade; porcelain slabs and tile over cement backer board also work. Spread the load across the block walls and support any overhang.
How do you make cinder blocks look good?
Clad them. Stone veneer, porcelain or ceramic tile, brick slips, or textured stucco all cover the block completely, and the result reads as a masonry kitchen rather than a stack of blocks.
Is a cinder block outdoor kitchen safe with a grill?
Concrete block is non-combustible, which is why it suits grill surrounds. Still follow the manufacturer clearance specs for the cutout and surrounding materials, provide any ventilation openings the manual requires, and never enclose a propane bottle without the specified venting.