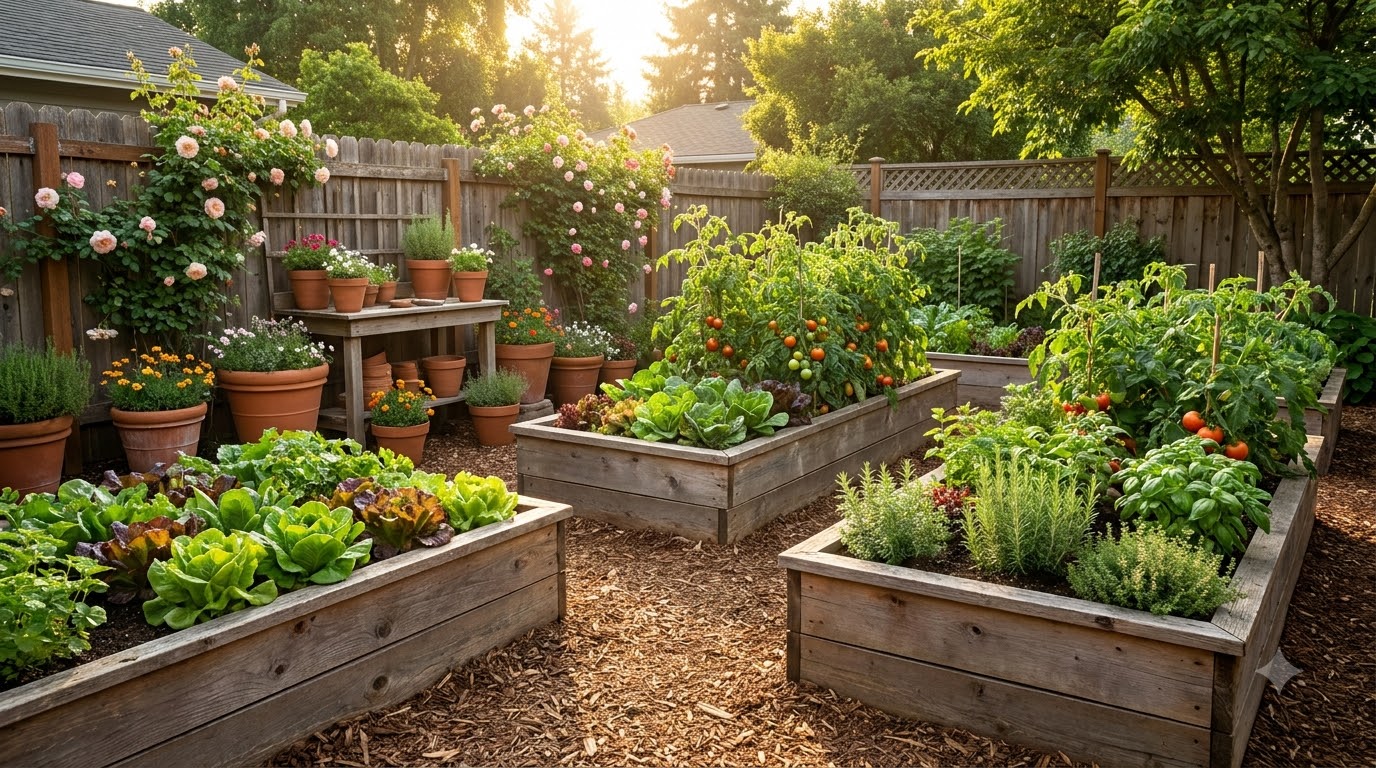
A raised garden bed is a frame of better soil sitting on top of whatever your yard gave you — and that one move fixes drainage, sidesteps bad native dirt, warms up earlier in spring, and lifts the work off your knees. Five decisions determine whether yours works: size, depth, frame material, what goes in it, and where it sits. This guide walks all five, with the numbers — and links the deep-dive on each.
Key takeaways
- The beginner blueprint: one 4×8 ft bed, 11–12 inches deep, built from three 2×12 boards, filled with ½–⅔ topsoil + ⅓–½ compost.
- Never wider than 4 ft — you must reach the middle without stepping in. Length is unlimited; width is not.
- What is under the bed decides the depth: 6–8 in over open soil, 12+ in over concrete.
- Modern treated lumber, cedar, and metal are all sound frames — railroad ties and mystery old wood are not.
- Soil is the real cost. The frame is a one-time buy; a 4×8 bed swallows 1.2 cubic yards of mix — and there is a layering trick that halves that bill.
Why raised beds win (and their honest downsides)
The case for: you control the soil completely (heavy clay and rocky fill stop mattering), drainage is automatic (water can’t pool in a box that drains out the bottom), spring comes earlier (raised soil warms faster), edges define the garden so weeds and lawn stay out, and a 12-inch lift saves a thousand small bends a season.
The honest case against: the frame and first fill cost real money (in-ground is free), raised soil dries out faster so you water more often, and beds on pavement run hot at the edges in high summer. None of these are dealbreakers; all of them are manageable with the choices below.
Raised bed, container, or straight in the ground?
Quick orientation before committing lumber:
- In-ground rows win when your native soil is genuinely good and budget is zero. Free, holds moisture longest, unlimited root run — but you inherit whatever soil and drainage you have.
- Containers and grow bags win on balconies and rentals. Total control, totally portable — but they dry out daily in summer and cap out at herb-and-tomato scale.
- The raised garden bed is the middle path: chosen soil like a container, root room and moisture buffer approaching in-ground, plus the ergonomic win neither offers. That balance is why it has become the default for home vegetables.
Size: the 4-foot rule and the standard bed
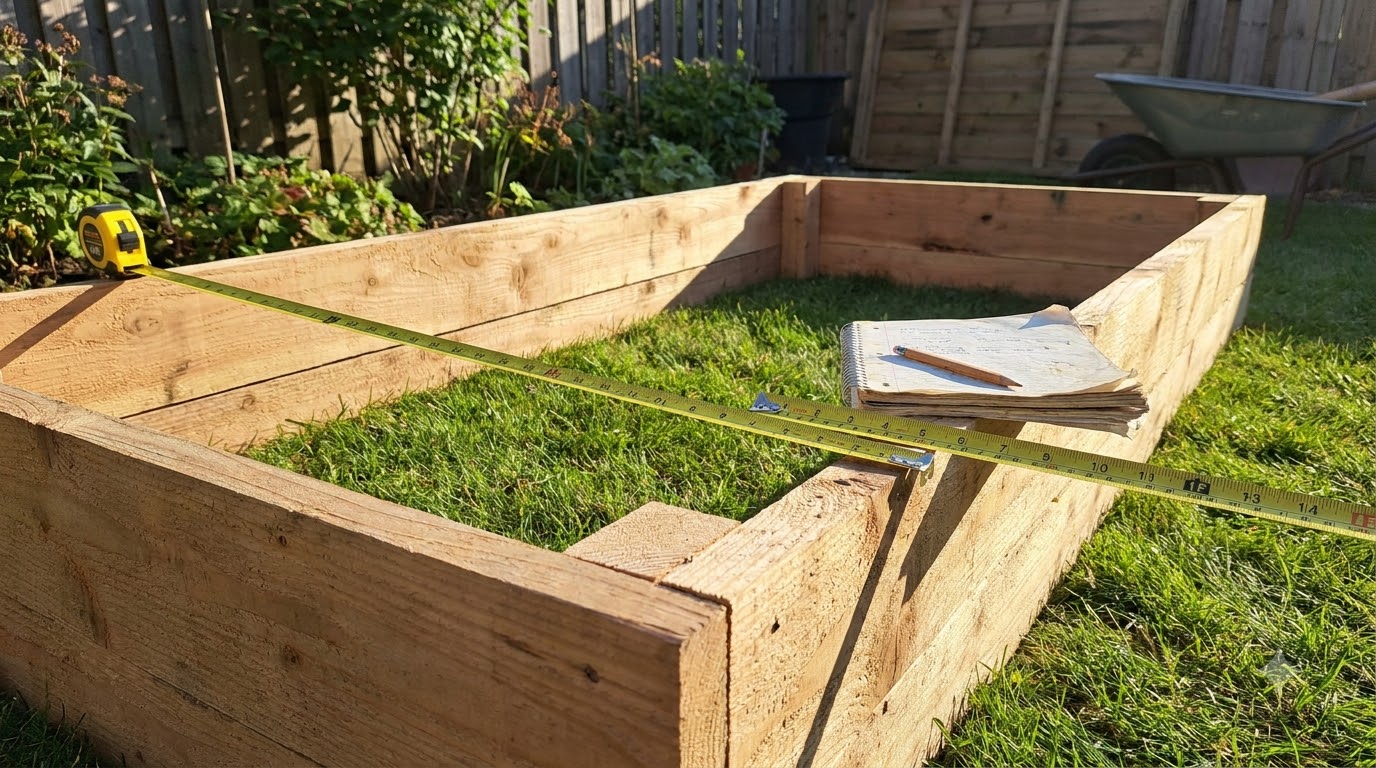
Width is the only dimension with a hard rule: you must reach the center from outside, because stepping into a bed compacts the loose soil you paid for. For most adults that caps width at 4 feet — 3 feet if the bed sits against a fence and you can only reach from one side. Length is whatever your space and lumber allow.
That is why the 4×8 ft bed is the default answer: comfortable reach from both sides, cuts cleanly from 8-foot boards, and big enough (32 sq ft) to feed a family salad habit all season.
Depth: what’s underneath decides
The short version: on open soil, 6–8 inches is enough for most crops, because roots keep growing down into the ground below. On concrete, a patio, or gravel, 12 inches is the minimum — the bed is the entire root zone. Root crops on a hard surface want 18. One 2×12 board (11¼ inches actual) lands you in the sweet spot with a single course of lumber.
Depth is also the biggest cost lever you control, since soil is bought by volume. The full breakdown — depth by crop, by surface, and what each inch costs — is in how deep should a raised garden bed be.
Frame material: wood, metal, or masonry
Any of these builds a good bed; they differ in lifespan, price, and looks:
| Frame | Lifespan | Cost | Best for |
|---|---|---|---|
| Ground-contact treated pine | ~10–20 yrs | $ | Cheapest per year — and yes, modern treated wood is garden-safe |
| Cedar | ~10–15 yrs | $$$ | The classic look, zero preservatives |
| Untreated pine/fir | a few yrs | $ | Starter beds you expect to rebuild |
| Metal kit | 20+ yrs | $$ | Longest life, hour-long assembly |
| Stone / block | indefinite | $$–$$$$ | Permanent landscaping, heat-loving herbs |
What not to build from: railroad ties and utility poles (creosote), lumber of unknown age (assume arsenic-era), and pallets stamped MB. The wood-safety guide has the full list and the end-tag codes to check at the store.
Placement: sun, water, and what’s below
- Sun first. Vegetables want 6–8 hours of direct sun; put the bed where the sun already is, not where the bed looks best.
- Near the hose. Raised beds dry faster than ground soil — every extra step to the spigot is a bed that gets watered less.
- Level ground, or level the frame with a shovel before filling; water runs off the low side of a tilted bed.
- Check what’s underneath — open lawn, compacted clay, concrete, or tree roots each change the depth math, per the depth guide.
Building the raised garden bed: boards to box
- Cut list for a 4×8: two 8-ft boards for the sides, one 8-ft board cut in half for the ends, plus a 4×4 offcut for corner posts if you want extra rigidity.
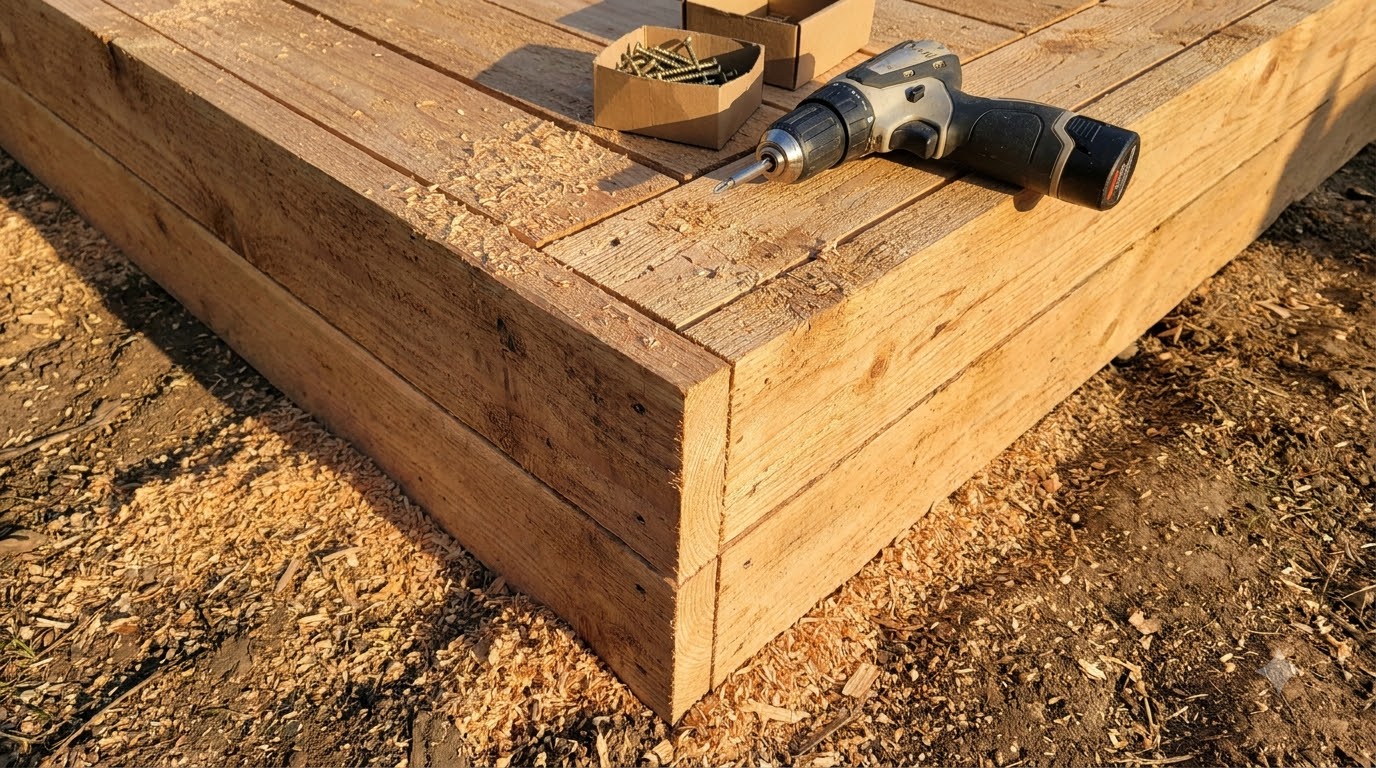
- Screw, don’t nail — three exterior screws per corner into the end grain, or into the corner post. Nails walk out as wood swells.
- Set and level the frame in its final spot.
- Critter insurance if you need it: staple galvanized hardware cloth across the bottom now — it is the one cover that can’t be added later.
- Lay cardboard over grass, overlapped and soaked — the free layer that replaces sod-stripping.
Filling it: the two-layer rule
Only the top 12 inches needs real soil — a blend of one-half to two-thirds topsoil with one-third to one-half compost (the University of Minnesota Extension ratio). Anything deeper can be logs, branches, and leaves, which is how tall beds get filled without a second mortgage: a 4×8 at 12 inches wants 1.2 cubic yards (about 22 bags), and past roughly one cubic yard, bulk delivery beats bags on price.
The complete walkthrough — volumes by bed size, the layered method, what never goes in the bottom — is in how to fill a raised garden bed.
What to plant the first year
Stack the deck with crops that forgive beginners and love loose bed soil:
- Can’t-miss: lettuce and salad greens, radishes, bush beans, zucchini (one plant — trust us), and herbs: basil, parsley, thyme.
- Easy second tier: cherry tomatoes (deep roots — give them the middle), peppers, kale, beets, cucumbers on a trellis at the north end.
- Plant intensively. Bed spacing is closer than seed-packet row spacing — you never walk here, so rows don’t need walking room. Blocks, not rows.
Watering and season care
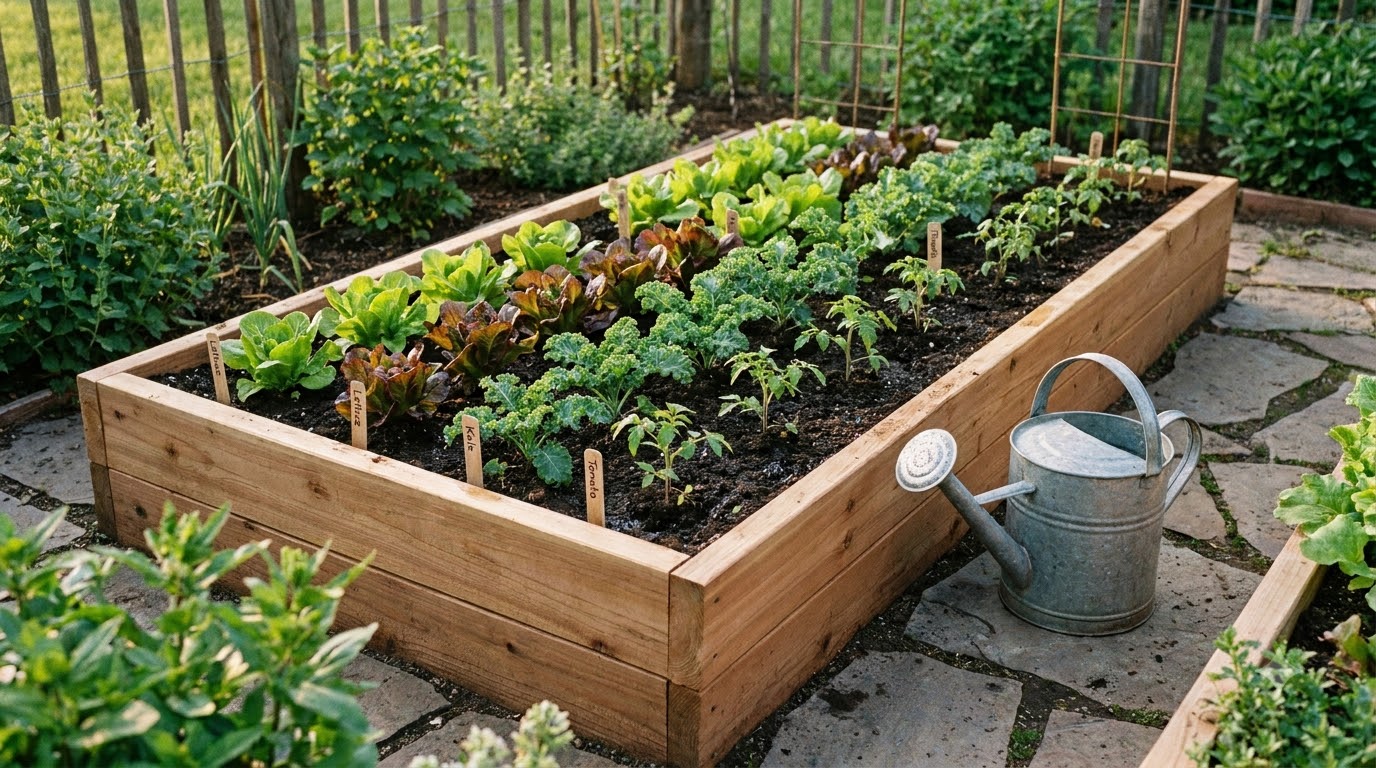
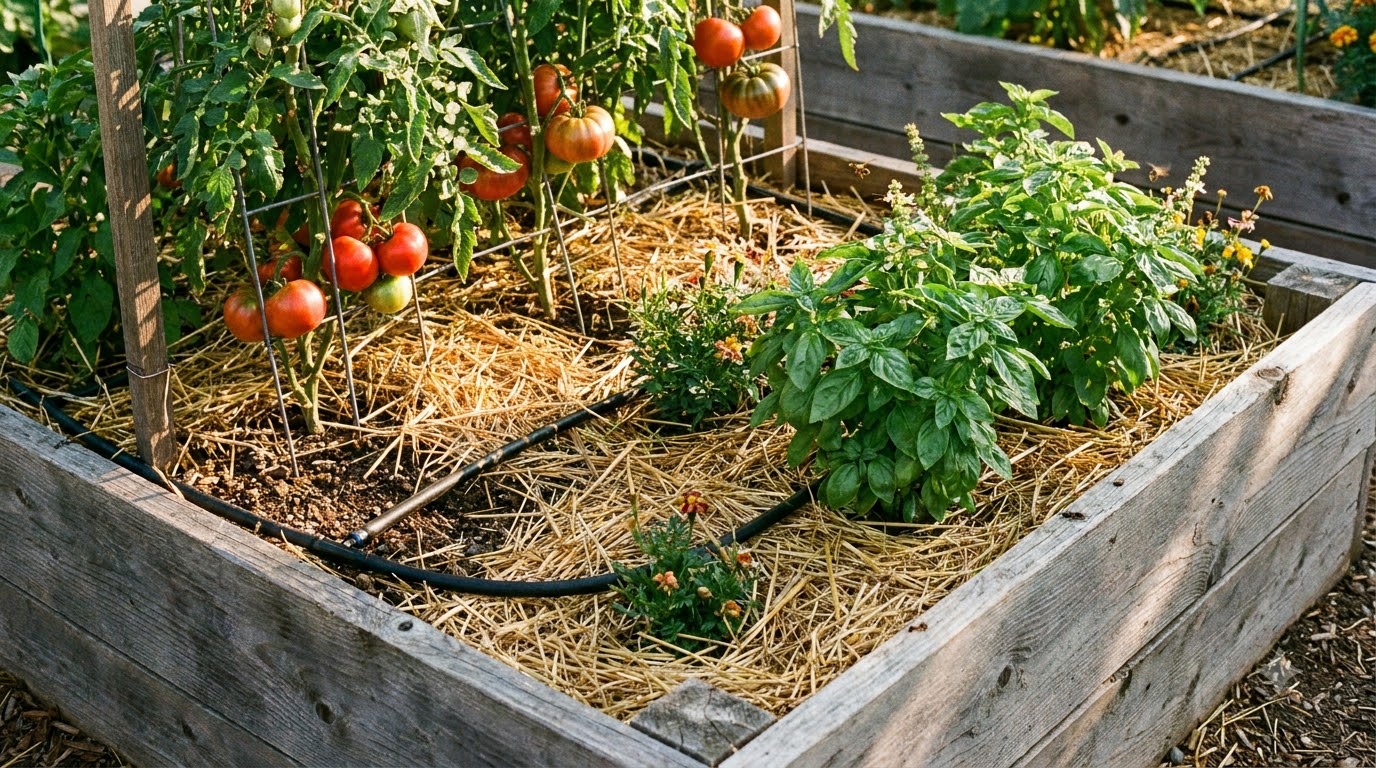
The rhythm that keeps a bed thriving: water deeply and less often rather than daily sprinkles (roots follow the water down); mulch the surface with straw or chips once seedlings are up, which halves evaporation; and expect the soil level to drop its first season — top up with an inch or two of compost each spring, which is also the annual feeding. A simple drip line on a timer turns the whole chore into a checkbox.
Through the seasons, one cheap hoop frame carries every protection the bed will need — frost cloth in the shoulder seasons, insect netting after transplanting, shade cloth in heat waves: the cover guide has the full calendar.
What it actually costs
Honest math for the standard 4×8, 12-inch bed: the frame is three boards and screws — in ground-contact treated pine that is the cheapest lumber run in the store; in cedar, budget two to three times as much. The soil is the bigger line: 1.2 cubic yards of topsoil-compost blend, cheapest as a bulk “garden mix” delivery. The discount: fill the bottom half of anything deeper than 12 inches with yard debris via the layered method and you halve the soil order. Metal kits shift cost from soil to frame but last longest of all.
The five mistakes that waste a first season
- Building wider than 4 feet — then stepping in it all summer.
- 6 inches of depth on a concrete pad. Fine on lawn, fatal on slab.
- Filling with bagged potting soil — wrong product at bed volume: dries fast, costs most.
- Ignoring what’s underneath — tree roots and buried slabs turn a bed into a container without telling you.
- Siting for looks instead of sun. A gorgeous bed in 4 hours of sun grows gorgeous disappointment.
Frequently asked questions
Are raised beds better than planting in the ground?
Better for drainage, soil control, earlier spring planting, and your back — that is why they dominate home vegetable gardens. In-ground wins on cost and watering frequency. If your native soil is decent and your knees are happy, in-ground is not wrong; raised beds simply remove the most common failure points.
What do I put on the bottom of a raised garden bed?
On grass: plain cardboard, overlapped and soaked — it smothers the lawn and disappears in a season. On open soil: nothing. Where digging animals are a problem: galvanized hardware cloth stapled across the frame before filling. Never plastic sheeting or gravel.
How long does a raised garden bed last?
It depends on the frame: untreated pine a handful of years, cedar roughly 10–15, ground-contact treated lumber on the order of 10–20, and metal kits 20-plus. The soil inside is immortal — you only top it up.
Does a raised garden bed need drainage holes?
No — a proper raised bed has an open bottom and drains into the ground below. Only fully enclosed planters on balconies or sealed surfaces need drainage holes. If your bed sits on concrete, keep the bottom open and add depth instead.
What size raised bed should a beginner build?
One 4×8 ft bed, about 11–12 inches deep. It is wide enough to matter, narrow enough to reach the middle without stepping in, and matches standard lumber lengths so the build is three boards and a box of screws.
Is it cheaper to build a raised bed or buy a kit?
Building with treated pine is usually the cheapest per year of service. Metal kits cost more up front but last longest and take an hour to assemble. Cedar builds sit in between on cost and win on looks. In every case, soil — not the frame — is the bigger long-term expense.
Sources
- University of Minnesota Extension — Raised bed gardens (soil mix, bed height, materials)
- Oregon State University Extension — EM 9879 (treated wood safety)