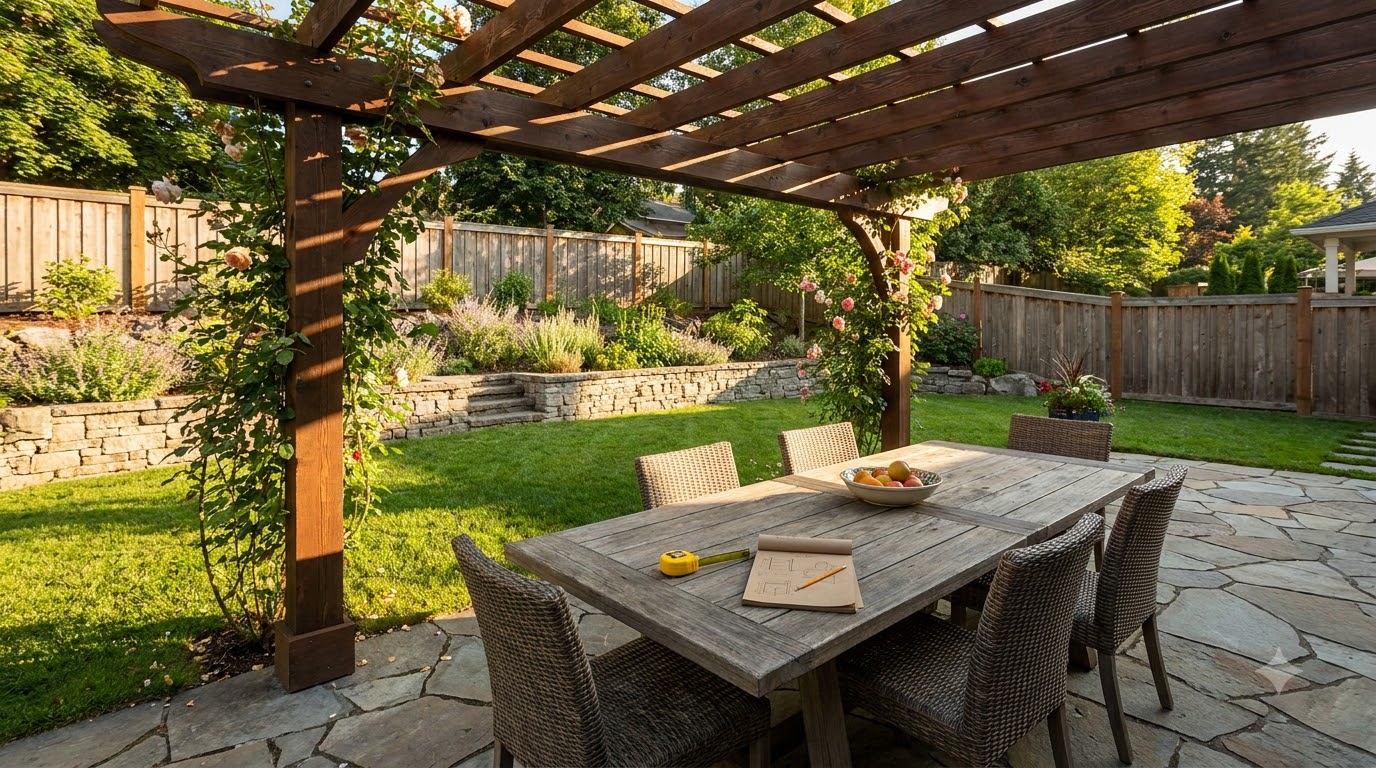
Pergola cost is decided by four things: size, material, roof type, and who does the work. A small pressure-treated kit you bolt together yourself sits at the bottom of the range; a mid-size cedar or aluminum kit with professional install lands in the middle; a custom build or motorized louvered roof sits at the top, often several times the kit price. This guide breaks down each lever — and the hidden line items (footings, permits, delivery, electrical) that quietly decide your real number.
Key takeaways
- Four levers move the price: square footage, material, roof (open slats vs louvered), and DIY vs installed.
- Size costs more than it looks — going from 10×10 to 14×14 nearly doubles the covered area, and beams get beefier as spans grow.
- Cheapest material ≠ cheapest bed over time. Treated pine and aluminum both beat “budget” options on cost per year.
- Hidden costs are where quotes diverge: footings, permits, delivery, lighting circuits, staining, and haul-away.
- Louvered roofs are a different category — they compete with gazebos and small additions, not with slat pergolas.
What drives pergola cost
| Lever | Cheaper end | Pricier end | Why it matters |
|---|---|---|---|
| Size | 10×10 ft or smaller | 16×20 ft and up | Cost scales with area and with beam size as spans grow |
| Material | Pressure-treated pine | Cedar, then aluminum, then premium hardwood | Sets both price and future maintenance |
| Roof type | Open slats | Canopy → polycarbonate → manual louvers → motorized louvers | The single biggest jump on this page |
| Build route | DIY from lumber | Kit + install → fully custom build | Labor commonly rivals materials on custom work |
| Site work | Existing slab or deck | New footings, grading, drainage | Invisible in kit prices, very visible in quotes |
| Attachment | Freestanding | Attached to house or roof | Adds flashing, permits, and pro labor |
By material, from cheapest to priciest
- Pressure-treated pine — the budget structural pick. Strongest per dollar, heaviest to handle, wants staining every few years. Same modern copper preservatives covered in our treated wood guide.
- Cedar / redwood — the classic look and naturally rot-resistant, at a real premium over pine. Refinish every few years or let it silver.
- Vinyl — maintenance-free white; mid-range price, love-it-or-hate-it look, and the sleeve is cosmetic (wood or steel inside does the work).
- Aluminum — the low-maintenance modern option: powder-coated, rust-free, spans further with lighter members. Costs more up front, asks nothing afterward.
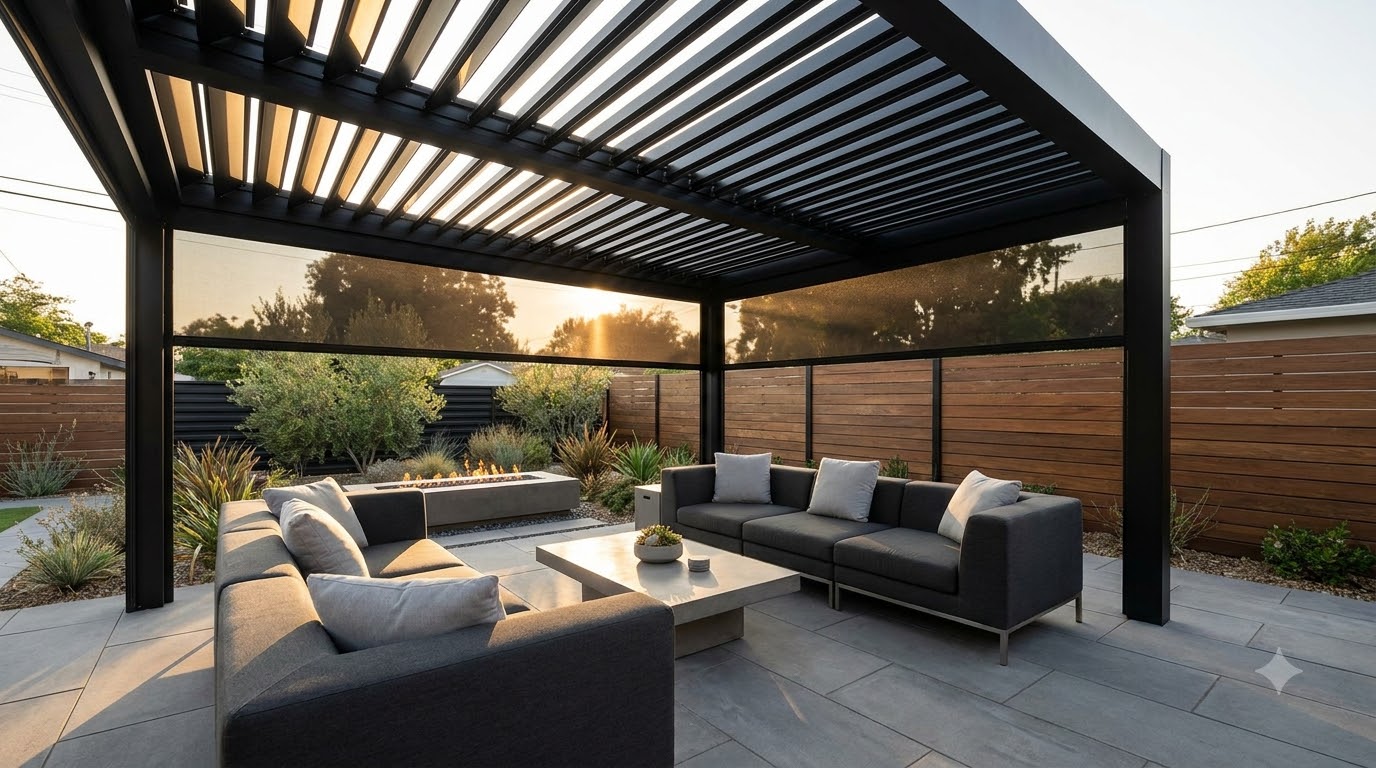
- Motorized louvered aluminum — its own tier entirely. You are buying a mechanism, a warranty, and often a professional install.
Kit vs custom vs DIY-from-lumber
DIY from lumber
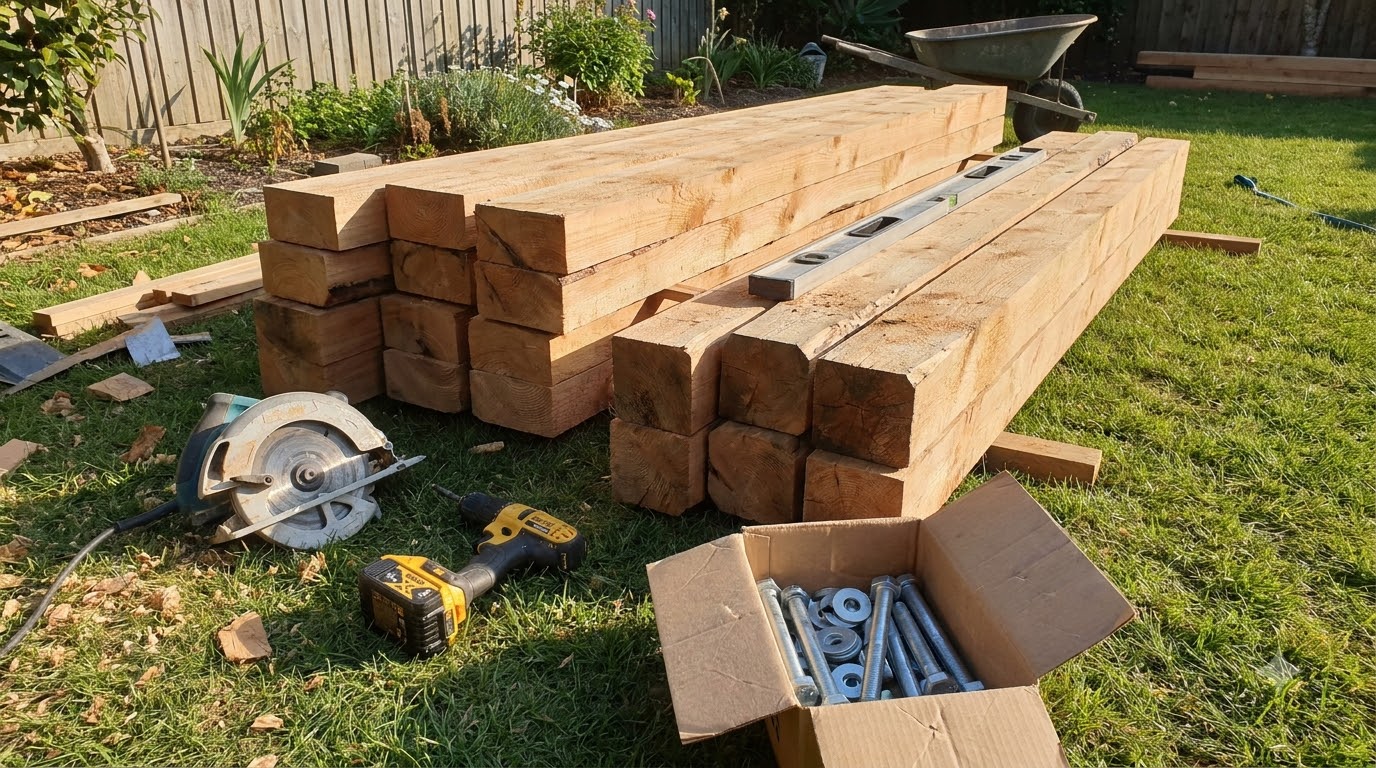
Cheapest materials bill, and the route with the most control over size. You need a saw, a drill, a level, a helper, and a weekend — plus the willingness to get post spacing and beam spans right the first time. Treated pine keeps the number lowest; cedar buys looks.
Kit, self-assembled
Pre-cut parts, matched hardware, span-checked instructions. Materials cost more per board foot than raw lumber, but the design work is done and mistakes are rarer. This is the sweet spot for most first-time builders.
Kit plus professional install
Add labor for assembly and anchoring. Worth it if the site needs footings, the pergola attaches to the house, or you’d rather not spend the weekend. Ask what the quote includes — footings, permit handling, and disposal are the three items that vary most.
Fully custom build
A carpenter designs to your space: exact dimensions, heavier timbers, integrated lighting, matching the house trim. The top of the wood range, and labor often rivals or exceeds materials.
The hidden line items
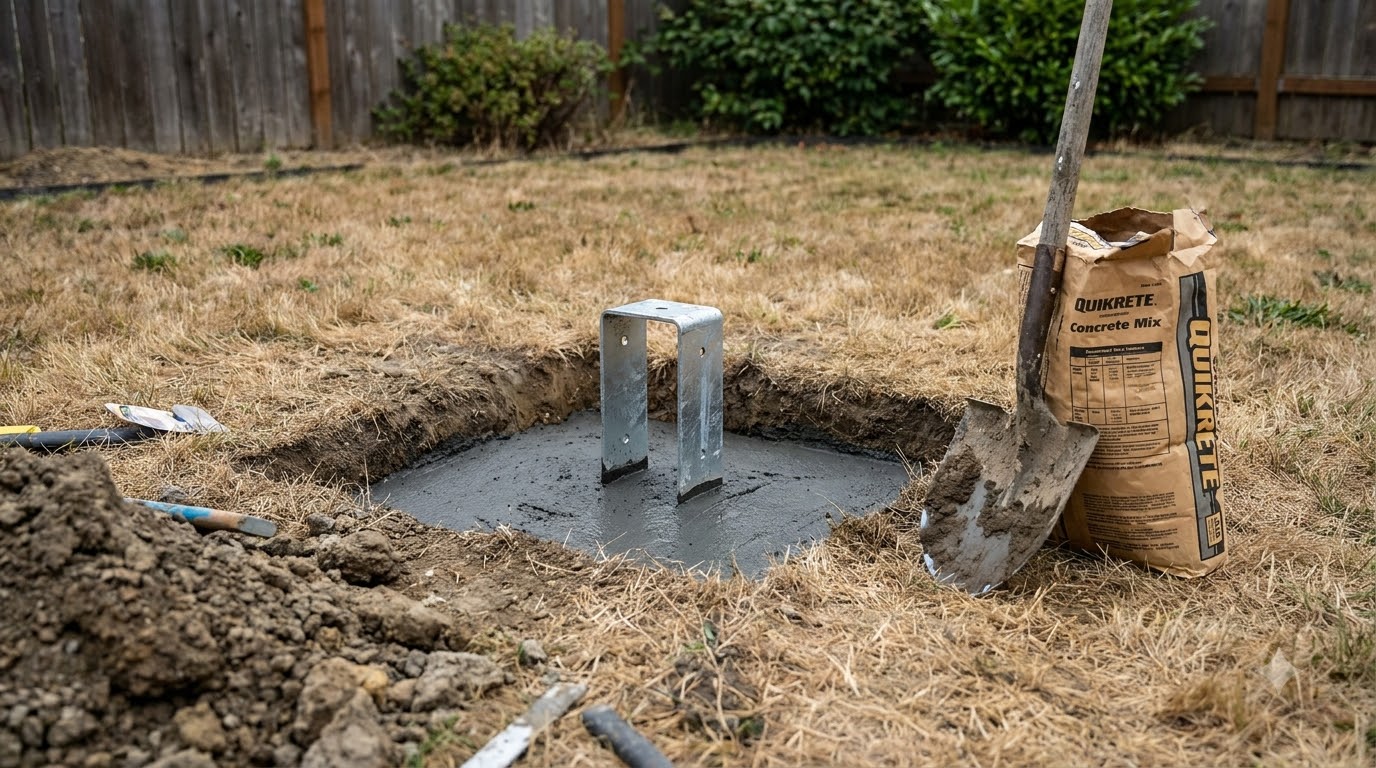
- Footings. Unless you are building on an existing slab or a deck that can carry the load, plan for digging, concrete, and post anchors. Cheap in materials, real in labor.
- Permits. Fees vary by municipality, and attached or large structures trigger review more often — budget the time as much as the money.
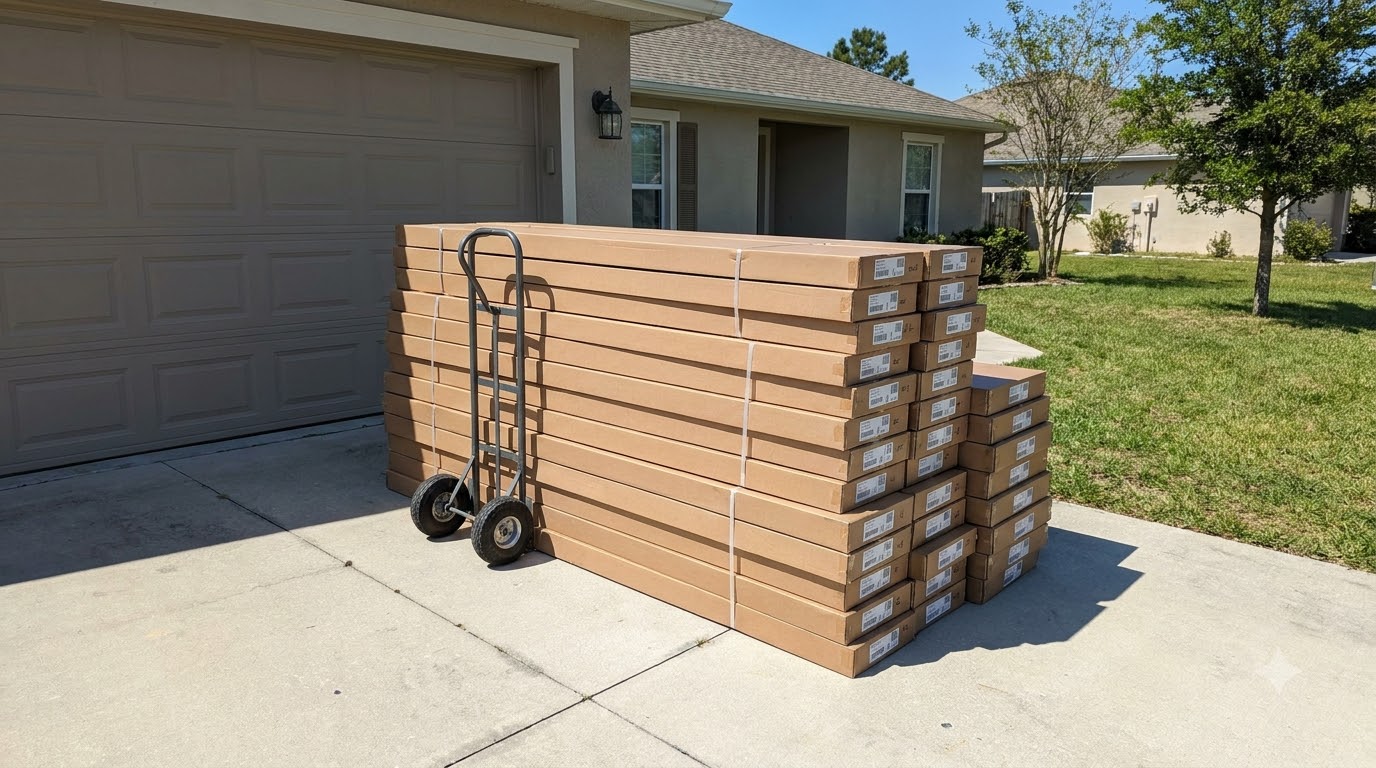
- Delivery. Pergola kits ship as very long, very heavy boxes. Freight and curbside-only delivery are common surprises.
- Finishing. Stain or sealer for wood, plus the recurring cost every few years. Aluminum skips this entirely — part of why it wins on cost per year.
- Electrical. Want fans or hardwired pergola lighting? An outdoor-rated circuit is an electrician’s line item, and cheaper to run during the build than after.
- Site prep and haul-away. Leveling ground, removing an old structure, and disposing of debris all bill separately.
Size and shape: the cheapest lever you control
Before comparing materials, get the footprint right — it moves the number more than anything else on this page, and unlike material choice it costs nothing to decide well.
- 10×10 ft — a bistro table or two loungers. The entry point for kits, and genuinely enough for a couple’s coffee spot.
- 12×14 ft — a six-seat dining table with chairs pulled out. The most-built size, and where most kit ranges concentrate.
- 16×20 ft and up — dining plus lounge, or an outdoor kitchen. Beams get deeper as spans grow, so cost climbs faster than square footage alone.
- Rectangles beat squares for cost per usable foot — they follow standard lumber lengths and suit how furniture actually sits.
- An extra foot “just in case” can push you into the next beam size. Measure the furniture, add walking room, stop there.
Whatever size you land on, US framing lumber follows published span tables — the American Wood Council’s span tables are the reference builders and inspectors use, and they are why a wider pergola needs more than just longer boards.
Where to save without regretting it
- Right-size it. Cover the seating area, not the whole yard — the most effective cost cut available, and it usually looks better too.
- Freestanding over attached. Skips ledger hardware, flashing, and often a permit tier — see attaching a pergola to a house for why that work adds up.
- Treated pine, stained well. The cheapest structural material can look genuinely good with a decent finish.
- Buy off-season. Kits and installers both discount in fall and winter; spring is peak demand.
- DIY the assembly, hire the footings. A hybrid split that keeps the structural part professional and the bolting-together part free.
Where NOT to cut
Undersized footings, non-galvanized fasteners, overspanned beams, and skipping flashing on an attached ledger. Every one of those saves a little now and costs a rebuild later.
Getting quotes that compare fairly
Two quotes for “a 12×16 pergola” can differ by a factor of two and both be honest — they include different things. Ask every bidder to itemize: materials and grade, footing method, permit handling, delivery, finish/stain, electrical, haul-away, and warranty. Then compare line by line. Also settle whether the price assumes freestanding or attached — that single word moves the number more than most material choices, and it is the same decision covered in pergola vs gazebo.
Frequently asked questions
How much does a pergola cost?
A basic wood kit you assemble yourself is the cheapest route, a mid-size cedar or aluminum kit with professional installation lands in the middle, and a custom-built or motorized louvered pergola sits at the top — often several times the kit price. Size, material, roof type and who installs it are the four levers.
Is it cheaper to build a pergola or buy a kit?
Building from lumber is usually cheaper in materials, especially in pressure-treated pine, but it costs you a weekend and assumes you own the tools. Kits cost more per board foot and buy you pre-cut parts, hardware and instructions — for most first-timers that trade is worth it.
What is the cheapest pergola material?
Pressure-treated pine is the least expensive structural option, followed by cedar, then vinyl, then aluminum, with motorized louvered aluminum at the top. Cost per year of service tells a different story — aluminum and treated pine both age well.
Do I need to include footings in my pergola budget?
Yes, unless the pergola sits on an existing slab or deck that can carry it. Concrete footings mean digging, bags of concrete, and post anchors — a modest materials cost but real labor, and the most commonly forgotten line item.
Does a pergola add value to a home?
It can, when it creates genuinely usable outdoor living space and matches the house. Buyers respond to a shaded patio that feels like a room, not to the structure itself — placement, condition and finish matter more than what you spent.
How much does it cost to install a pergola?
Installation typically adds a meaningful fraction of the kit price for straightforward assembly on flat ground, and more when footings, electrical, or attachment to the house are involved. Get itemized quotes — whether footings, permits and haul-away are included is where quotes differ most.